|
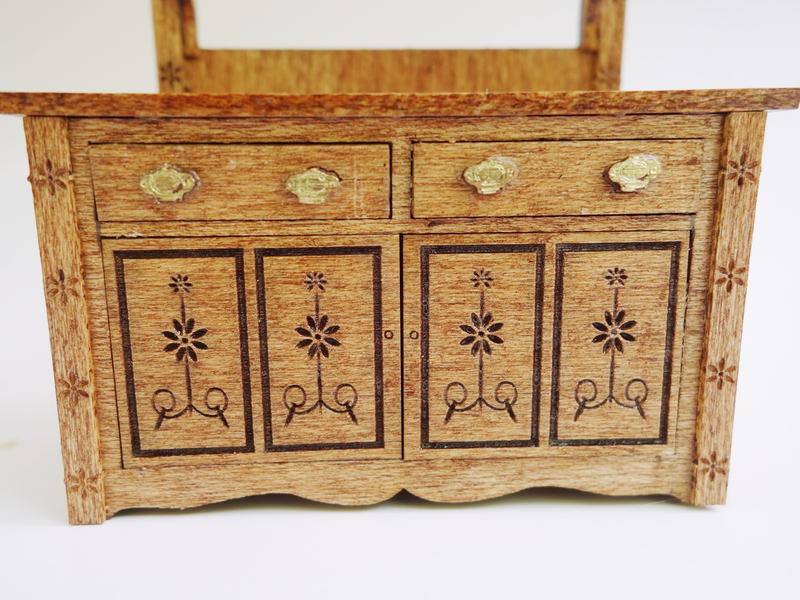
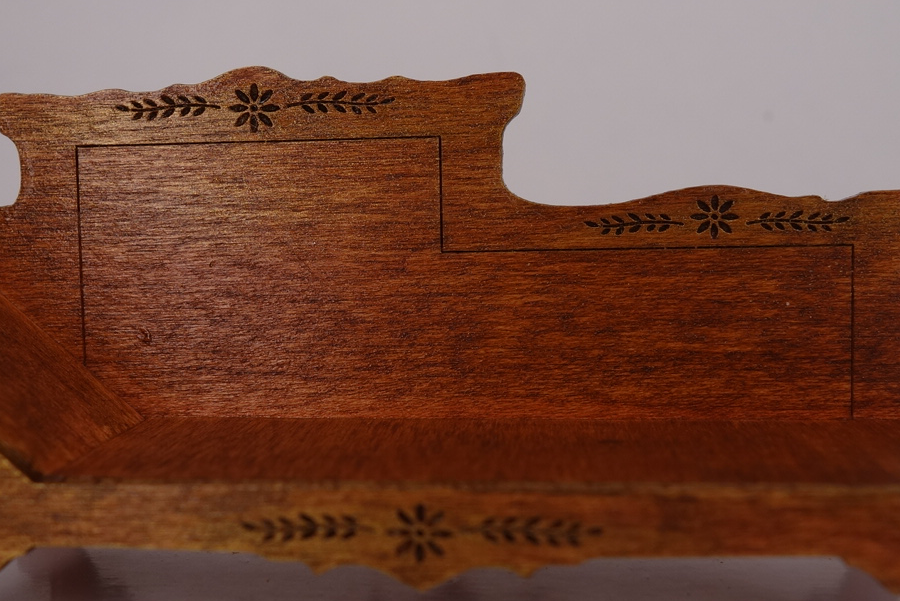
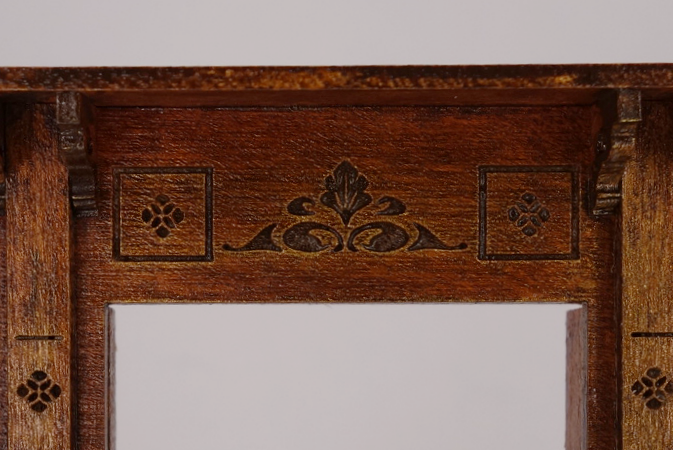
Here is how I got the carving to stand out when I finish laser cut MiniEtchers.com kits:
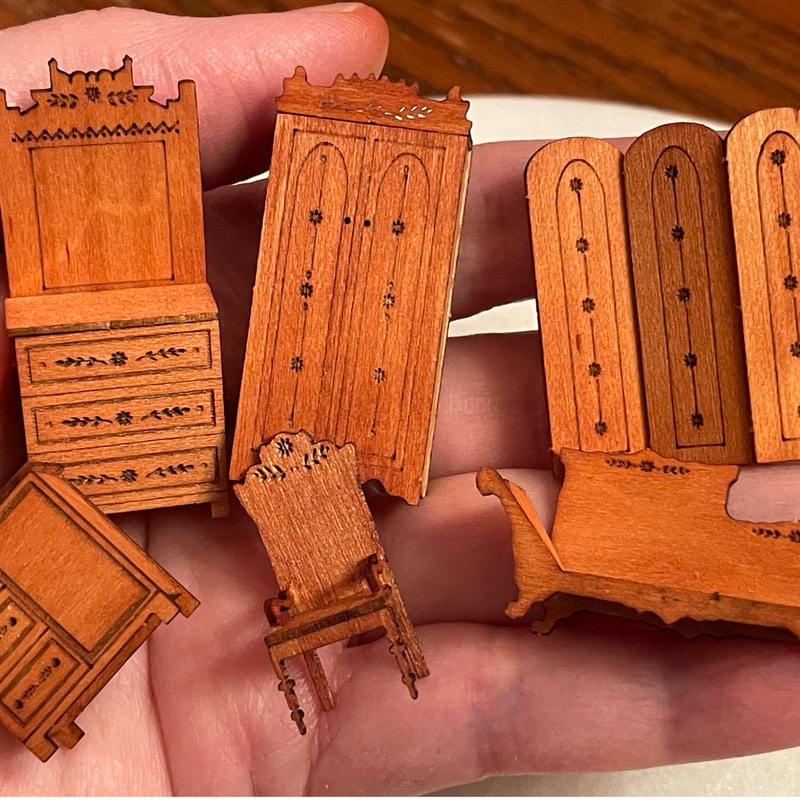
**All staining must be done before gluing because stain will not stick to glue! **Staining and rubbing are easier before you cut the piece from the matrix. 1) I painted then rubbed off an acrylic "antiquing medium", which is basically a watered down brown paint. This got the dark color down in the carved out places but left the rest lighter because I rubbed it off. 2) I stained the rest of the piece; I prefer a water based stain just because I like easy cleanup. Stain both sides so to reduce warpage. My pieces are made of maple, a hardwood, so that helps reduce warping but with these thin pieces it happens sometimes. Painting or staining on both sides helps reduce the effects because it is essentially warping in both directions at the same time. However, if it gets dry and it is not flat, just press it under something heavy overnight and it'll be fine. 3) I assembled and glued it together as per the piece's instructions. 4) Sometimes I dry brush a little gold paint over the carving to make the light catch the edges a bit. Dry brushing is when you take a dry paintbrush, dip it in a tiny bit of paint and paint some scrap paper until the brush is almost dry - then paint it on your piece. 5) Finally, I go over the whole piece with a clear satin acrylic varnish. I find that glossy is too much - I won't get into the physics but essentially the reflection of the light doesn't scale properly - so I like to use satin. I hope this helps!
0 Comments
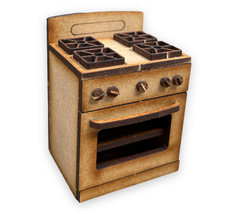
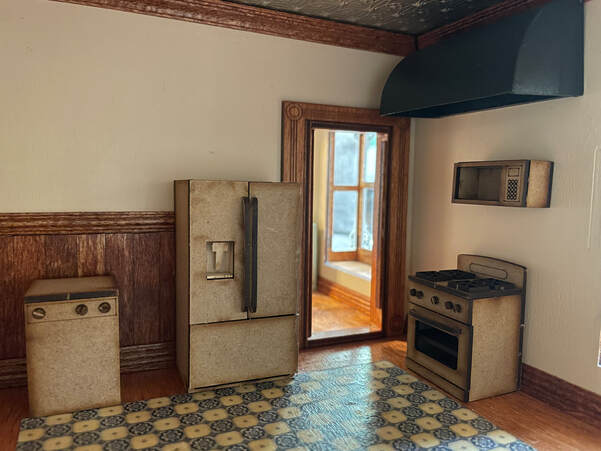
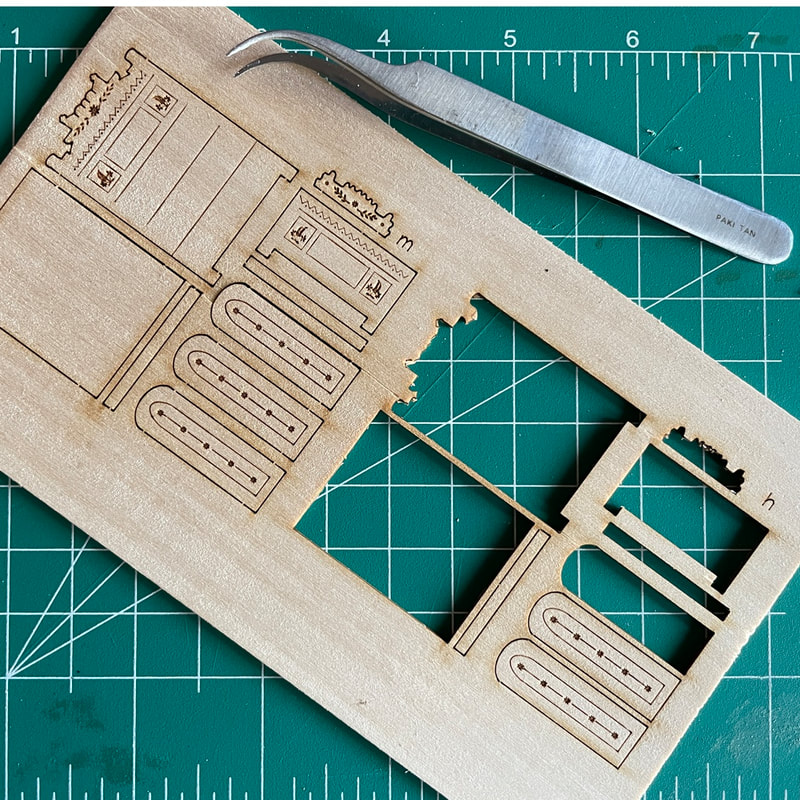
I've tried something new with the 1:24 appliance kits. I cut them from 1/16" MDF wood. This is a smooth composite wood and I thought you might like the way it doesn't show wood grain on the appliances. Let me know how you feel about that choice! MDF doesn't come in 1/32" so the 1/4" scales appliances are still cut from maple like the rest of my kits.
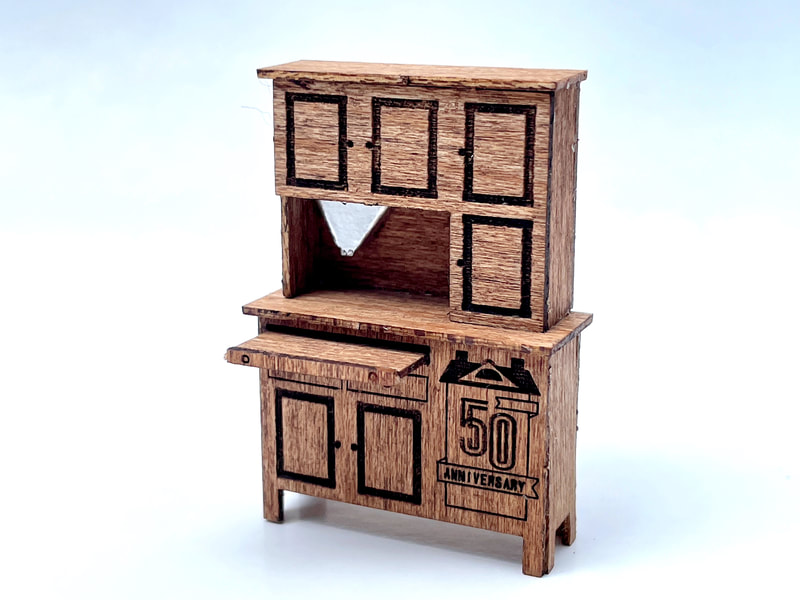
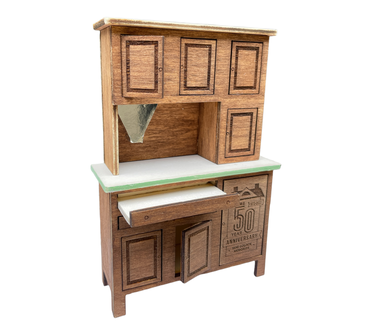
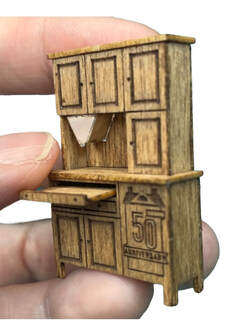
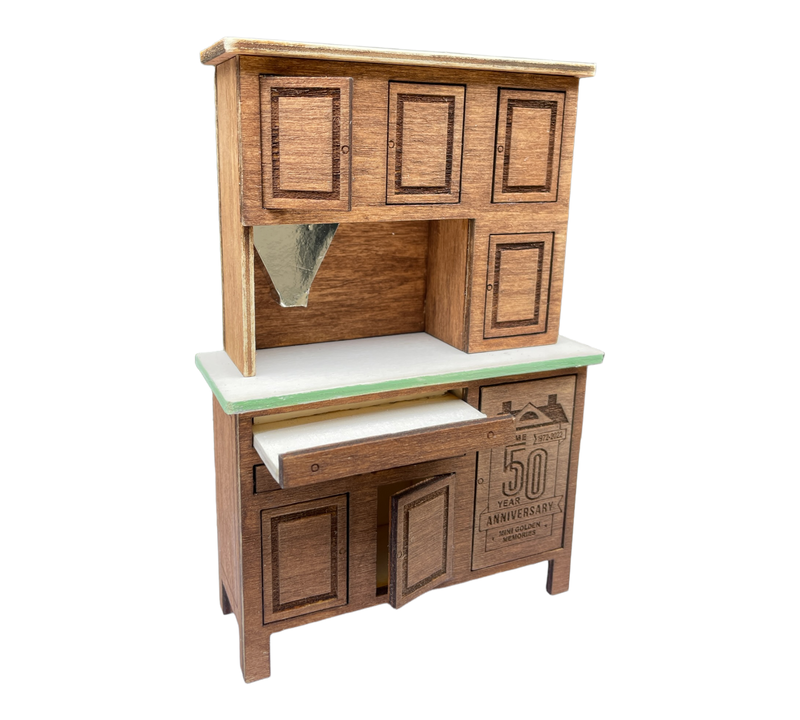
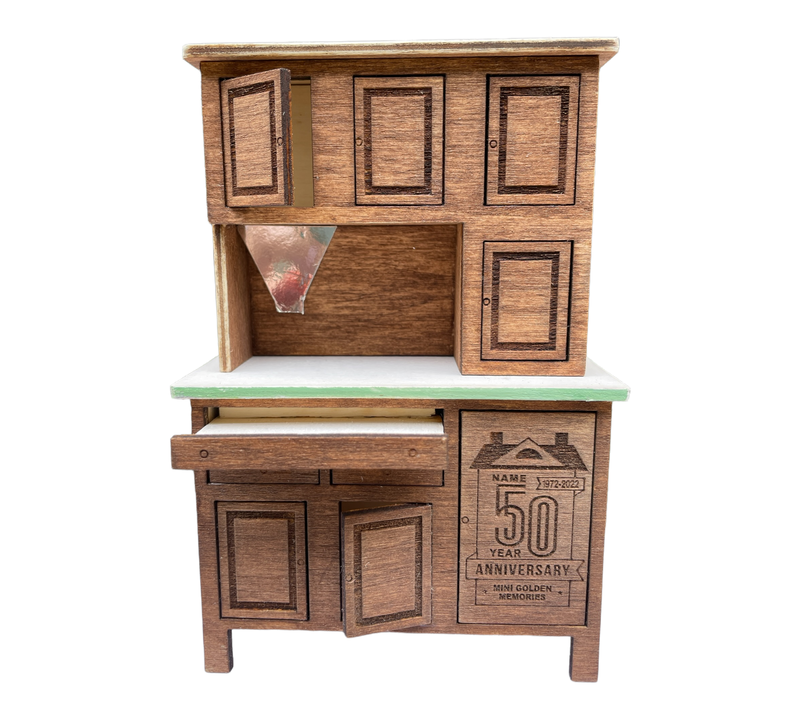
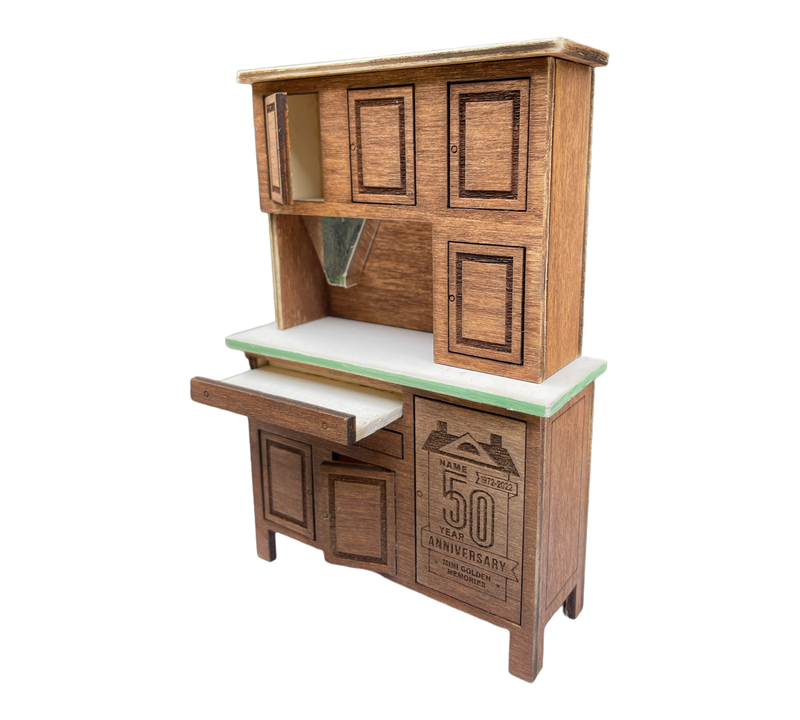
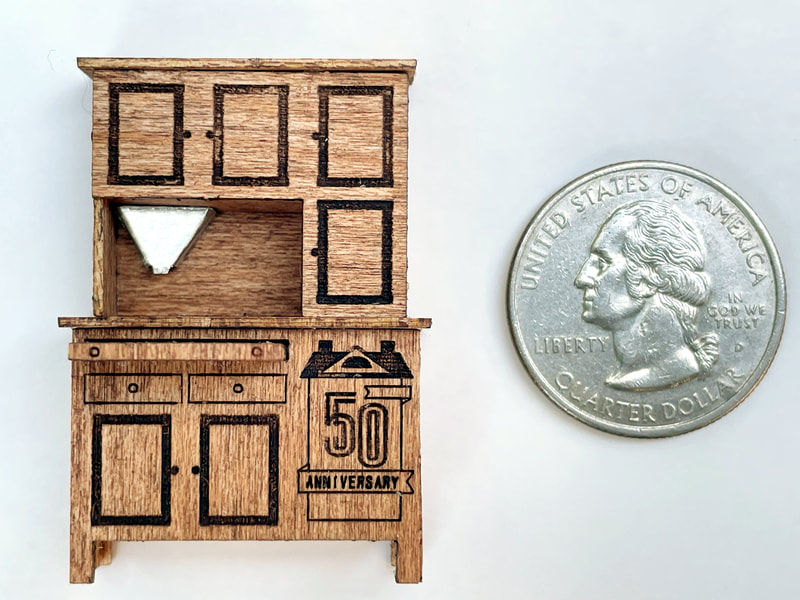
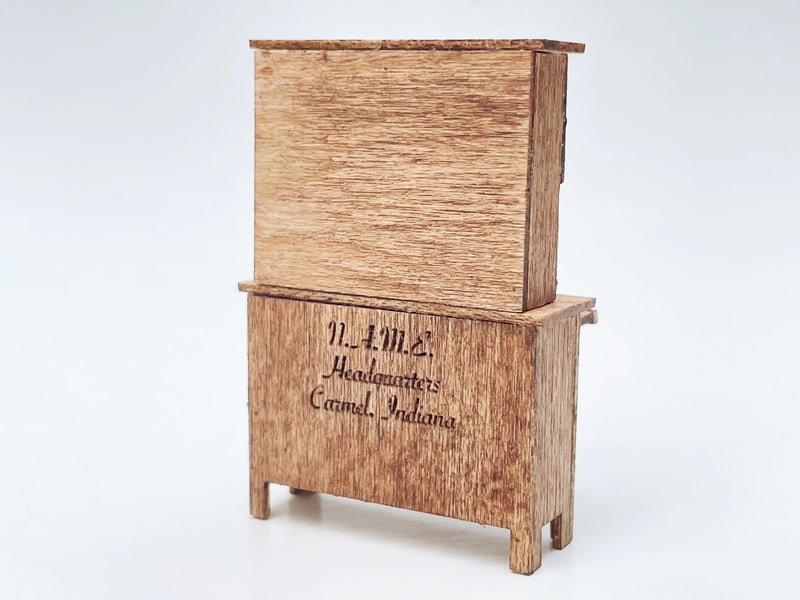
NAME recorded my Hoosier cabinet class in September and that video is now on their Create website Lunch and Learn with Karen Crawford. I demonstrated how to build a 1/4" scale cabinet and also highlighted some key differences in the 1/2" scale and 1" scale versions. The free video class is packed with lots of tips and tricks for building MiniEtchers kits. Lastly, I have a new handle for my YouTube assembly videos: youtube.com/@minietchers . 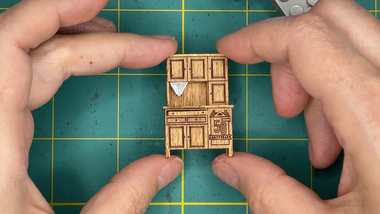 Your are invited to a FREE Lunch-and-Learn via Zoom on Sunday, September 18, 2022, at 2pm. The National Association of Miniature Enthusiasts (N.A.M.E.) is hosting this special event where I will answer questions about and demonstrate how build the MiniEtchers Hoosier Cabinet. I will be discussing all three scales that the kit is offered in: 1:48, 1:24, and 1:12. This special Hoosier Cabinet was chosen as the official N.A.M.E. 50th anniversary September souvenir and the Lunch-and-Learn is one of their many events of the year-long celebration. It is free to all; both members and non-members are invited. Join me! I'm excited for this opportunity to get your feedback and answer your questions. This is your chance to get your questions asked! Words alone never seem enough to explain how to put a kit together so come see how. If you miss this Sunday's event, don't worry. N.A.M.E. will be posting the recording afterward on their Create website, https://create.miniatures.org/videos . MiniEtchers is a proud supporter of NAME and I am a member of the Atlanta Miniature Society (a NAME club). Everyone is welcome! "Only through sharing can we really enjoy our treasures" Click here for the Zoom link! I have had such a hard time keeping this secret. Yesterday, September 1, was finally the release of my miniature Hoosier Cabinet kit, in celebration of the N.A.M.E. 50th Anniversary! (National Association of Miniature Enthusiasts aka miniatures.org) It's the official September souvenir! At the end of the year my 1:48 scale prototype will be displayed in the NAME museum in the NAME Day Memory Box.
I've wanted to share so many times!! I pitched my idea to the committee this spring and have done several rounds of prototypes. I was inspired because of NAME headquarters being in the "Hoosier" state of Indiana. Right now the National Convention is being held in Indianapolis! Those of you not familiar with Hoosier Cabinets, they're a distinctive style that was very popular in the 1920s and 1930s, one of the first pieces of furniture specifically designed for the kitchen. There's even a Hoosier Cabinet museum in Nappanee, Indiana. The cabinets often featured a pullout workspace and funnel with a built-in sifter. I love this style; and it has been a lot of fun to work on it. You can buy your NAME 50th Anniversary Hoosier Cabinet kit here at MiniEtchers.com . I'm offering it in 1:48, 1:24, and 1:12 scales. All scales feature the pull-out workspace and metallic funnel. The larger scales have opening doors/drawers. The 1:48 and 1:24 kits are cut from high quality hardwood maple. The 1:12 kits are from 1/8" lite ply poplar to give them more strength and stability. All my kits come with written instructions but I'm also in the process of creating video instructions for you too. Being an official create.miniature.org kit, I will be hosting a live Zoom build session on September 18 so be sure to order your kits in time! Congratulations to NAME and thank you to all the volunteers involved in the 50th anniversary celebration!  This week was our grand opening of the store! I’m so happy to see new as well as returning customers. I had a lot going on and I appreciate everyone’s patience. I had everything ready to go on May 1 - and then ran into an internet DNS glitch that set me back until Tuesday night. But Wednesday the 4th, we were taking orders! Several things have been coming together to get your new Eastlake kits to you. First I was working with a new laser cutting service (back and forth with proofs and updates). I also had all-new instruction sheets, and new how-to videos. Today we released the how-to video for the 1:24 Eastlake Bookcase. My daughter, Tacie, deserves a special thank you for editing videos and configuring instruction sheets. I literally couldn't do this without her volunteer effort. That's my fingers doing the assembly but she takes all my raw video footage, speeds up the boring parts, cuts out my mistakes, and makes it a smooth finished production. A new video will be posted every day or so over the next week. I'm making them for all the re-released kits and eventually for new kits when I have brand new designs. On top of that, every day I have been putting a few more pieces of the inventory that Shellie sent to me onto the website. It is taking me some time because first I have to figure out what an item is, then find it in the online catalog to update the in-stock status. Many of these things were only sold at special events so were never in the store so I take their pictures too. I’ve started with the half-inch scale items and am working my way to the quarter-scale and one-inch scale things. I have a feeling this will be going on for a while! I’m not changing the prices from what Shellie had so until these are sold out, you’ll be paying 2020 prices!
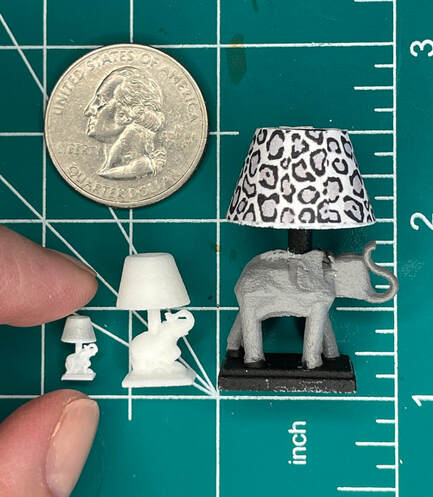
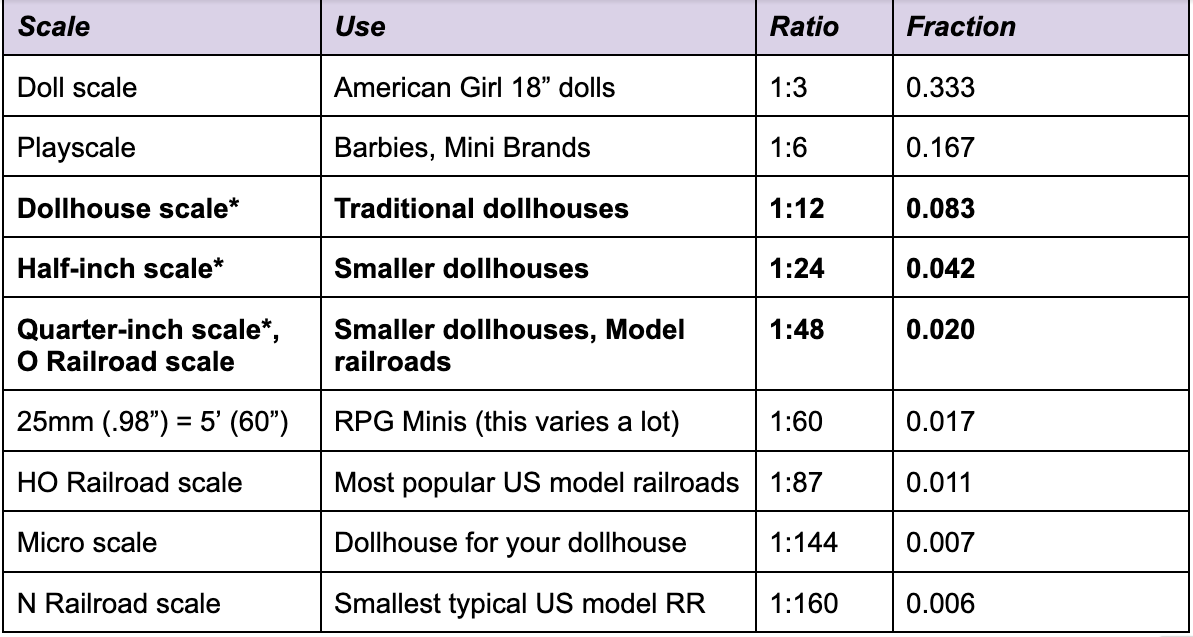
I put a link for a newsletter signup on my home page. If you sign up, I will tell you when I post more of Shellie’s store items. You’ll also be the first to know when I release new kits and when I have special sales. Thank you for visiting. Next blog update, I’ll tell you the results of last week’s website poll about what will be re-released next! Even if you don’t know what scale your miniature is, your eye knows when something in a scene is “out of scale”. Your brain knows automatically and instantly. You don’t have to hold it or measure it, you just know. This is what delights us when we see a miniature vignette where everything in it is the same scale. It fools us, even if just for a minute, into thinking we’re looking at something life-sized. To make your miniature scene/dollhouse/diorama look the most “real”, it is important that everything in that scene, from the figures to the furniture to plumbing fixtures to wallpaper, all be the same scale. The scale of a miniature is a ratio; the relative size of the model to the real thing. For example, 1:1 scale ("one to one") would be a life-sized model. 1:10 scale ("one to ten" or “one tenth scale”) would be one tenth of life-sized. 1:100 would be one hundredth of life-sized. The larger the scale number, the smaller the model and the less detail possible. Traditional dollhouse miniatures use 1:12 scale, also known as 1/12, 1”=1’. This means that a 6” figure in your dollhouse would be a 6’ person in your life-sized house, 1/12 the size of the human. Dividing by 12 is tricky in math but it makes scaling for dollhouses convenient if you’re familiar with the imperial system. 1:12 miniatures can have an amazing amount of detail, often with functional gadgets. This is the most common scale you’ll find for dollhouse miniatures. A traditional dollhouse takes up a lot of space in your life-sized house. A 3 story dollhouse fills a tabletop. Two trends have led to the popularity of smaller scales in dollhouse miniatures, particularly 1:24 and 1:48. The first is the diminishing amount of space available for this hobby in a life-sized home. The other trend is the use of new technologies like laser cutting and 3D printing to achieve detail not possible before. 1:24 scale is also known as “half-inch scale” because ½” = 1’. Your 6’ person is now only a 3” doll. You can fit 4 houses on that tabletop! But because our fingers aren’t getting any smaller, we have to use tweezers more and accessories are sometimes just approximate. 1:48 scale is known as “quarter-inch scale” because ¼”=1’. The 6’ person is just a little 1 ½” doll. The drawers on the furniture probably don’t open. You definitely use tweezers to place the objects on the little tables. You can fit a whole village onto the tabletop! Bonus fact: 1:48 for dollhouse miniaturists is approximately the same as “O Scale” for model railroad enthusiasts. The smallest scale commonly used for dollhouse miniatures is 1:144 scale or “Micro Scale”, a “dollhouse for your dollhouse”. Don’t sneeze when you’re working on furniture for these miniatures! If you had a 1:12 dollhouse shop, the dollhouses in that shop would be 1/12 of 1/12 or 1/144 of life-sized. There are other scales used by other kinds of miniature hobbyists. Barbies and Mini Brands are 1:6 scale (called “Play scale”). RPG (Role Play Gaming) miniatures can be around 1:60 for human figures. American Girl dolls are 1:3 scale. Finally, some math. How can you tell what scale your little house or doll is? Measure the length of the little item and divide it by the length of the life-sized item. If you think of it in fractional terms, with 1 in the numerator, you have your scale ratio. It doesn’t matter what measurement system you use, as long as you’re consistent. It is fine to use inches, mm, or hands for both the numerator and denominator as long as they’re the same. Using a calculator to get a decimal number, you can use the following table: Or here are links to a couple of handy online scale calculators:*MiniEtchers specializes in dollhouse furniture kits in 1:24 and 1:48 scales, with some 1:12 scale.
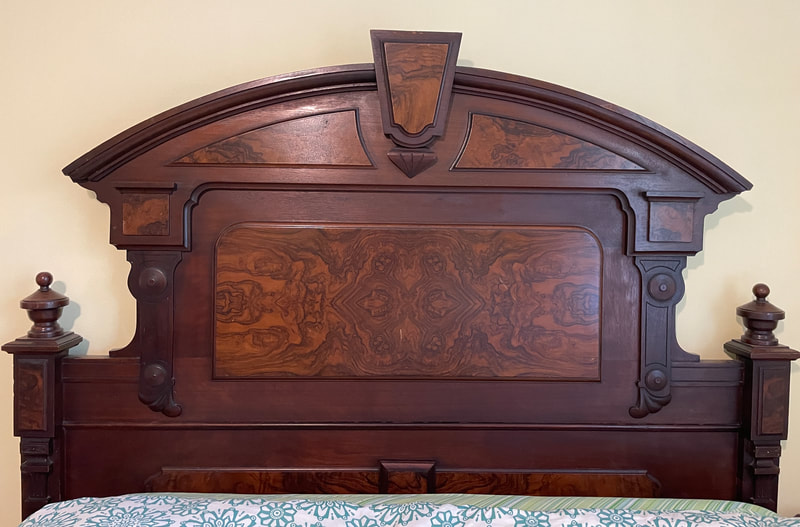
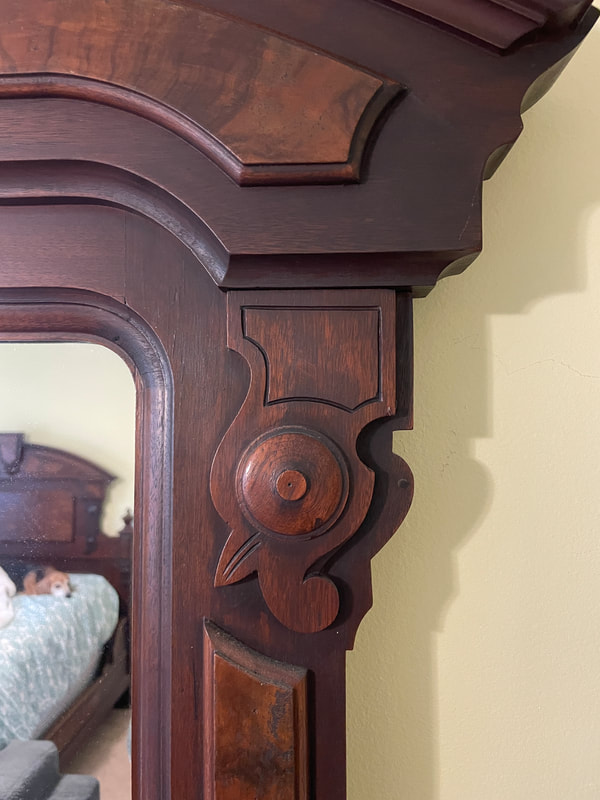
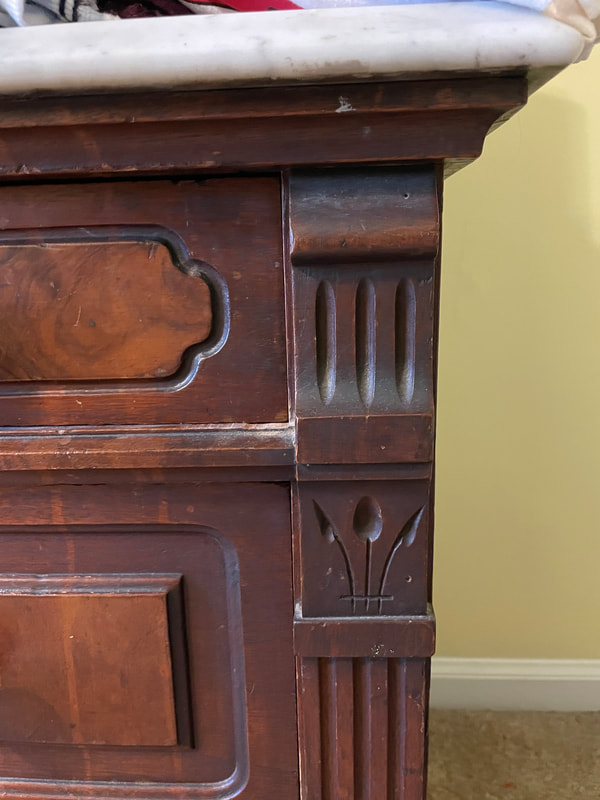
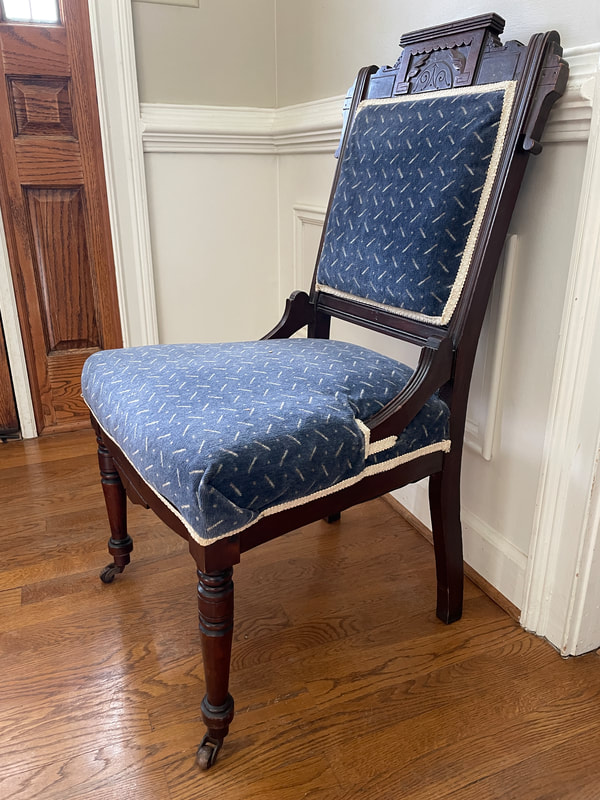
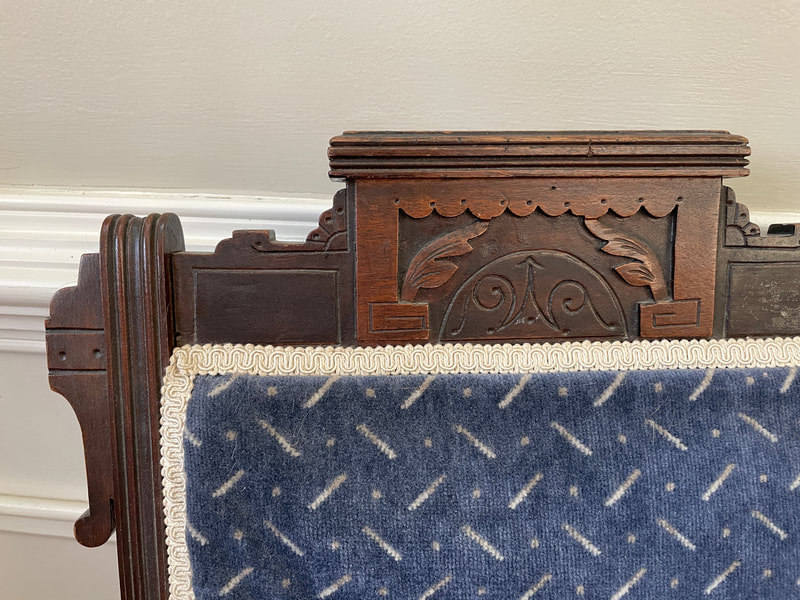
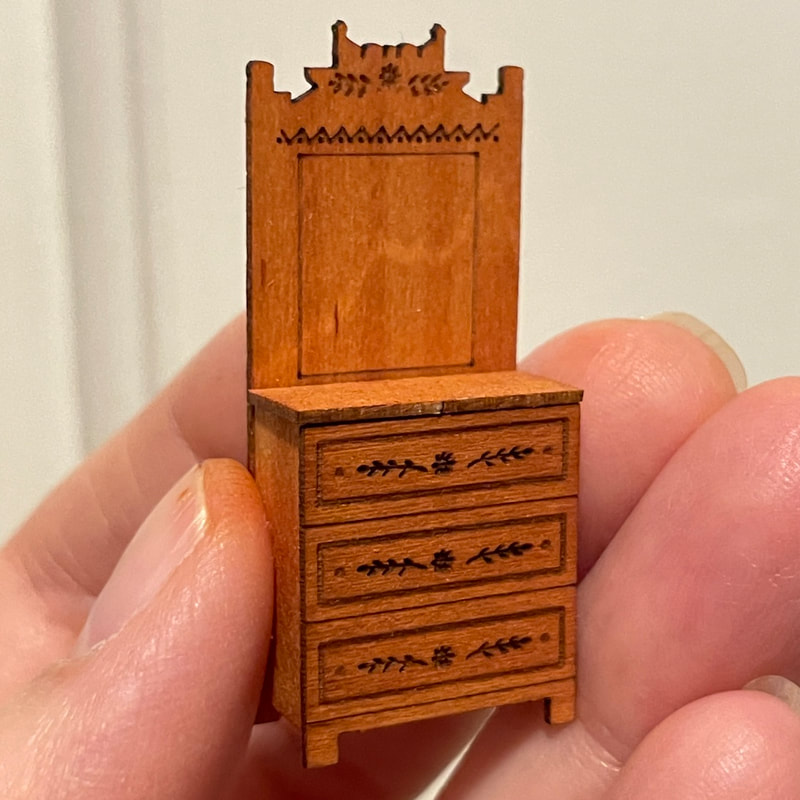
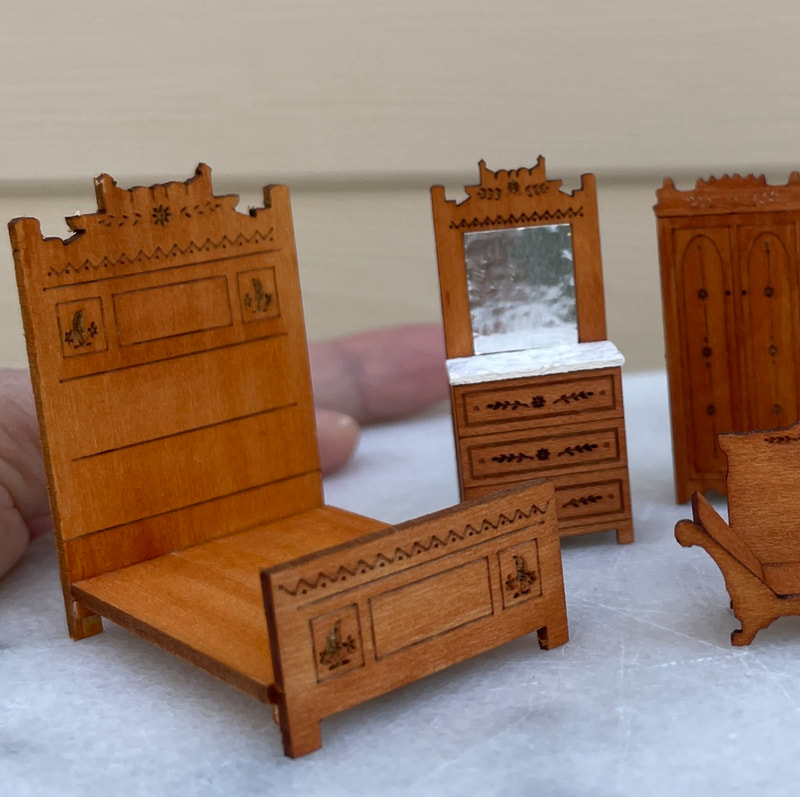
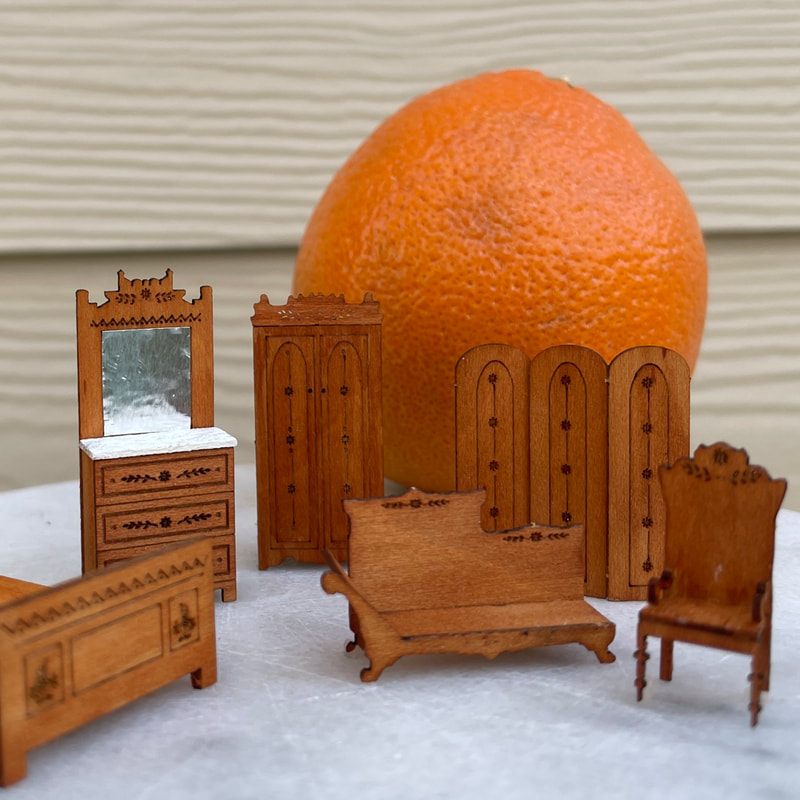
Take a look at my Scale Pinterest Board for more tables and scale comparisons 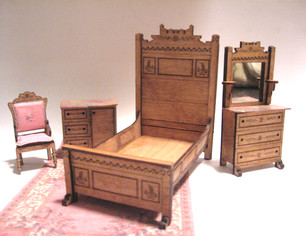 One of the things that attracted me to MiniEtchers when I was a customer, was Shellie’s beautiful Eastlake Victorian dollhouse furniture. The pieces are unique in the dollhouse industry. They’ll be the first MiniEtchers designs to be re-released in both 1:24 and 1:48 scales using the new laser cutter this month. There were a wide range of furniture styles popular during Queen Victoria’s long reign from 1837-1901. “Victorian” was not so much a style but a “period”. Eastlake is a style of Victorian architecture and furniture, which peaked between 1870 and 1890. English architect Charles Eastlake published “Hints on Household Taste in Furniture, Upholstery, and Other Details," in 1868 (1872 in the US). The book was incredibly fashionable and influential in furniture design. It was a counter to the more fanciful Victorian styles, with plain lines, incised carving, and geometric shapes; it foreshadowed the Arts and Crafts movement and Modernism. Eastlake designs were featured at the Philadelphia Centennial Exhibition in 1876. My great great grandparents lived there and 100 years later I inherited their Eastlake bedroom set. I’ve loved it ever since. Here are some links for more pictures on my Eastlake Pinterest board and further reading about Eastlake furniture:
https://www.thesprucecrafts.com/identifying-eastlake-furniture-148840 https://www.truelegacyhomes.com/eastlake-furniture/ https://www.heirloomsathome.com/eastlake-furniture-identification-guide/ Are you a visual learner? Why not use video to help you assemble your MiniEtchers kits? Step-by-step written instructions are included with every MiniEtchers kit but now you'll also be able to come here or to my YouTube channel to see video instructions! Here's the first one, showing how to put together a very tiny 1:48 scale Eastlake Victorian chair, #148EC1S available here at MiniEtchers.com later this month. Being the premier video, working with a prototype kit, it's a little rough but I enjoyed making it for you and I think it'll be a useful tool. More videos coming!
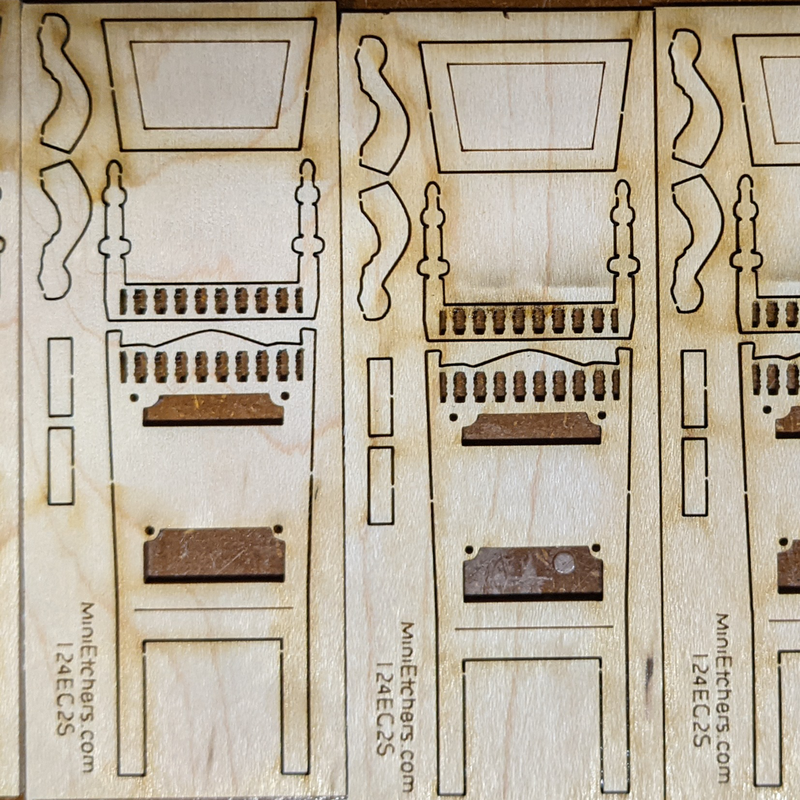
Don't let the big screen fool you, this chair is made from 1/32" (0.8mm) maple. Those markings on my mat are 1/16" (1.6mm)! A high-powered professional laser allows us to get finer detail in 1:48 scale than ever before. The maple takes stain beautifully so you can see the fine Eastlake designs etched on the chair back. Notice there are minimal laser burns. This is a AAA grade hardwood, cut with a finely tuned laser. Still getting ready; come back later this month to get your own MiniEtchers Dollhouse Furniture Kits! We're working hard to get this adorable Eastlake Victorian dollhouse furniture ready for you! This week we cut some of the 1:48 scale kits and a 1:24 scale chair and I got to play a little bit! Laser cut kits from MiniEtchers.com coming later in April.
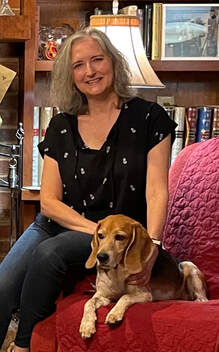
#minietchers #dollhouseminiatures #halfinchscale #miniatures #handcraftedkits #miniaturedesign #eastlakefurniture #quarterscale I'm Karen Crawford and I'm thrilled to be the new owner of MiniEtchers!
I will be bringing back your favorite miniature designs and soon will introduce new things. This will be a staggered re-opening, starting in April with Shellie’s beautiful and popular Eastlake Victorian designs in 1:24 (half-scale) and 1:48 (quarter-scale). As I get myself and my building process organized, I look forward to bringing back all of the laser cut and 3D printed MiniEtcher kits that have been so popular. I will be working to delight you with the highest level of quality in products and support. I want my kits to empower you to be creative and proud of your minis! My thanks to Shellie for the opportunity to continue the business she loved so much. Shellie has done a tremendous amount of work in the miniature industry spanning 35 years, starting by writing product reports and how-to's for the Kimberly House. She has inspired small scale miniaturists to use their own creativity with her kits. She's retired now but still working on her own projects and asked me to convey her thanks for all the years of trying to reach new levels of details in the tiniest of things. I will introduce myself and my miniatures in these pages. I'm hoping you'll email me some things you have done with MiniEtchers kits. We'll share some tips and tricks. I’ll also be telling you my plans for the future of MiniEtchers. In the meantime, see the About page for more information on my background. Welcome and thank you for visiting! |
AuthorCustom designs as requested by customers Archives
May 2023
Categories |

 RSS Feed