|
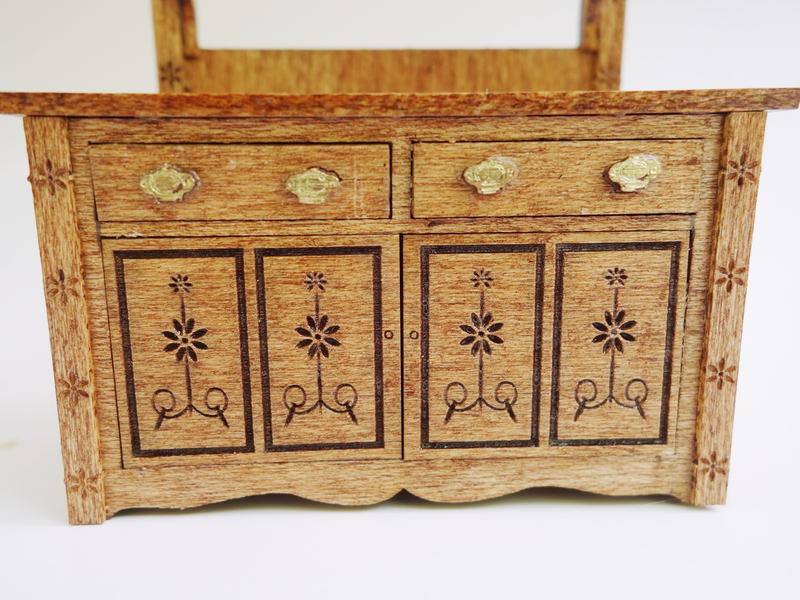
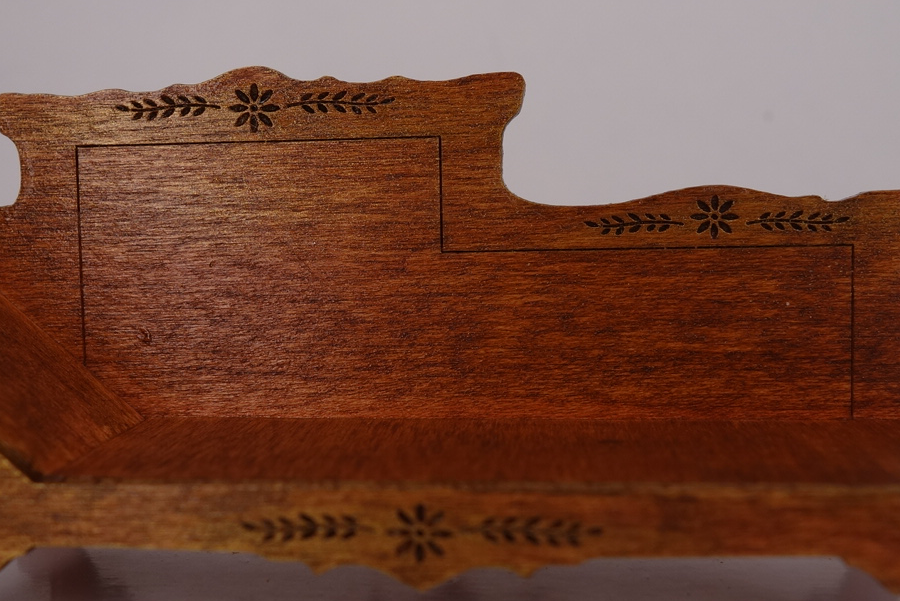
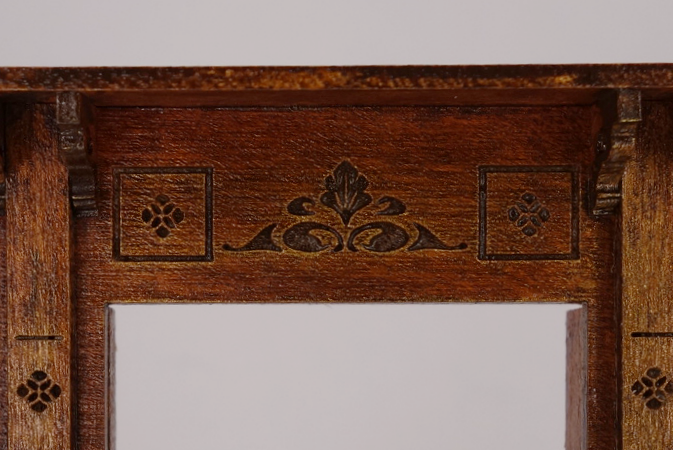
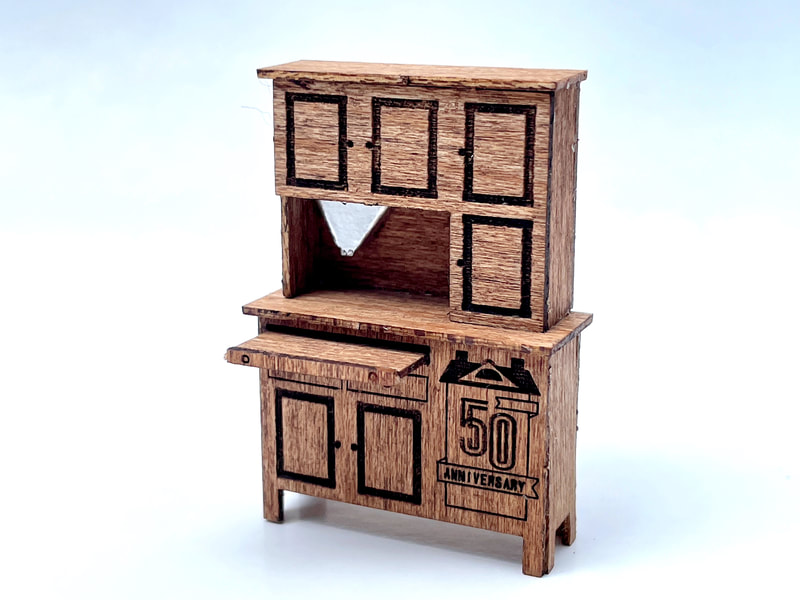
Here is how I got the carving to stand out when I finish laser cut MiniEtchers.com kits:
**All staining must be done before gluing because stain will not stick to glue! **Staining and rubbing are easier before you cut the piece from the matrix. 1) I painted then rubbed off an acrylic "antiquing medium", which is basically a watered down brown paint. This got the dark color down in the carved out places but left the rest lighter because I rubbed it off. 2) I stained the rest of the piece; I prefer a water based stain just because I like easy cleanup. Stain both sides so to reduce warpage. My pieces are made of maple, a hardwood, so that helps reduce warping but with these thin pieces it happens sometimes. Painting or staining on both sides helps reduce the effects because it is essentially warping in both directions at the same time. However, if it gets dry and it is not flat, just press it under something heavy overnight and it'll be fine. 3) I assembled and glued it together as per the piece's instructions. 4) Sometimes I dry brush a little gold paint over the carving to make the light catch the edges a bit. Dry brushing is when you take a dry paintbrush, dip it in a tiny bit of paint and paint some scrap paper until the brush is almost dry - then paint it on your piece. 5) Finally, I go over the whole piece with a clear satin acrylic varnish. I find that glossy is too much - I won't get into the physics but essentially the reflection of the light doesn't scale properly - so I like to use satin. I hope this helps!
0 Comments
Your comment will be posted after it is approved.
Leave a Reply. |
AuthorCustom designs as requested by customers Archives
May 2023
Categories |


 RSS Feed